Put your shop online: the 5-step checklist (free)
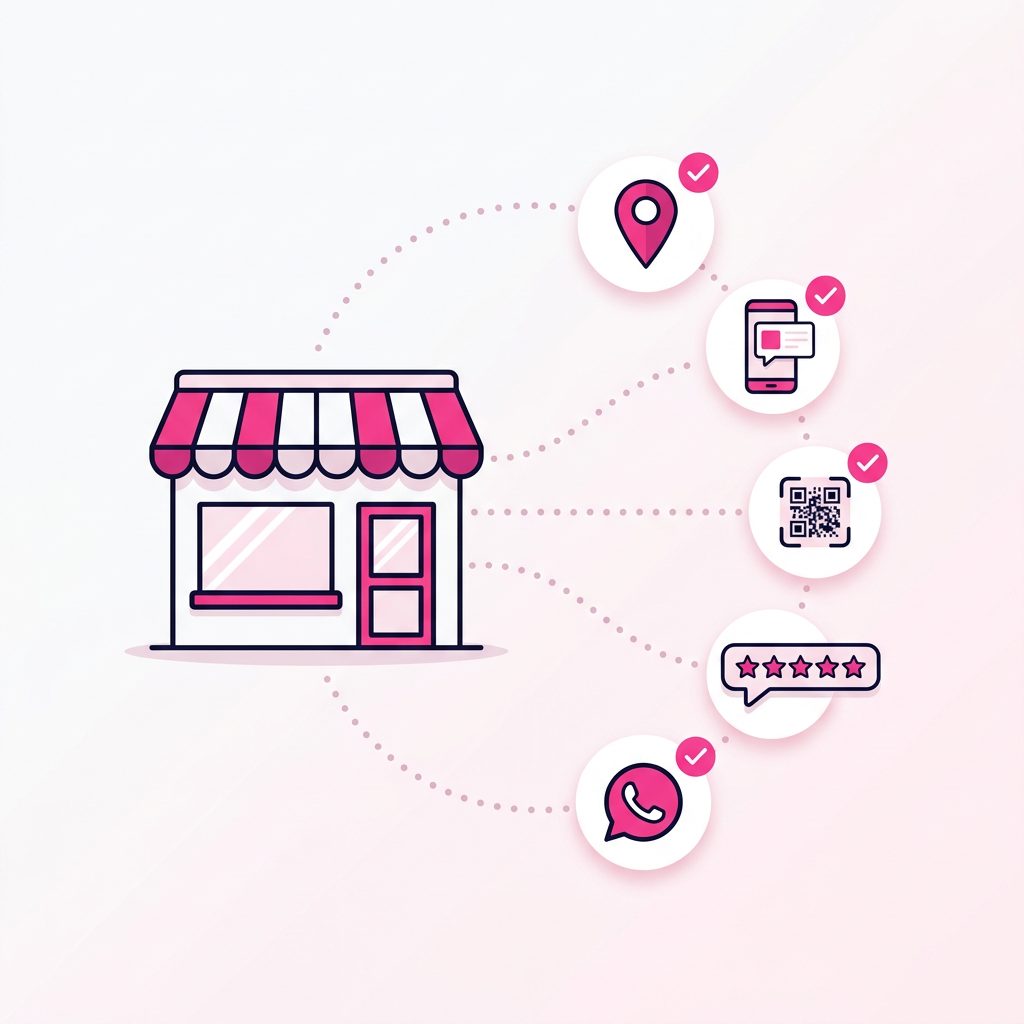
"Putting your shop online" sounds like a huge project — a website, an online store, payments, logistics. For a local business, it's none of that. Being online means being found, trusted and reached the moment a nearby customer looks you up. Here's the full checklist, five concrete steps, all free.
First: "online" doesn't mean "e-commerce store"
Most guides about "putting your shop online" are really about building an e-commerce site to ship products — with a business plan, suppliers, a platform and shipping. That's a different job, and for the vast majority of local shops, it's overkill. Your goal isn't to sell on the internet; it's to win the customer who searches "bakery near me," checks your hours, reads a review, and walks through your door. Keep that in mind and the project shrinks to five simple steps.
Step 1 — Create your Google Business Profile
This is the foundation of being discovered. Google Business Profile (formerly Google My Business) puts you on Google Search and Maps exactly when someone searches nearby. Claim or create your listing, then complete everything: exact name, address and phone (kept identical everywhere — Google rewards consistency), category, opening hours including holidays, and several real photos of your storefront and products. A complete listing ranks higher and gets clicked more. If you have no website, this alone makes you exist on Google — see how to create your Google listing.
Step 2 — Create a dedicated page for your shop
Google gets you found; a page is where people land. You don't need a full website with a domain and hosting — you need a clear page with your name, address, hours, description, photos and a way to contact you. The big advantage: it's editable in real time, so your info is never out of date, and you get a clean URL to share everywhere — including in the "website" field of your Google listing. A dedicated page is faster to set up than a website builder and far easier to keep current. See how to get found online with a simple page.
Step 3 — Put a QR code in your shop and window
Steps 1 and 2 cover the online world; the QR code bridges it to the real one. Printed on your window, counter or tables, it lets a passer-by or a seated customer reach your page — menu, hours, reviews — in two seconds. Because the page behind it is editable, the printed code never needs replacing. Generate your free QR code and make sure it's big and readable enough to actually scan: good size, high contrast, no glare.
Step 4 — Collect and manage reviews
Roughly nine in ten customers read reviews before trusting a place, and your rating weighs heavily in how you rank on Maps. So make asking for reviews a habit: a simple "if you enjoyed it, a Google review really helps us" at the till, a QR or link that goes straight to the review form, and — just as important — reply to every review, good or bad. Replies show you care and reassure the next reader. See how to get more Google reviews.
Step 5 — Turn on your contact and action channels
Being found isn't enough; the visitor has to be able to act. Add the buttons that convert: a WhatsApp button to ask a quick question, an "order / book" button, a share button, and links to one or two social accounts you actually keep up (don't spread yourself across five). These contact and sharing buttons turn a page view into a call, an order or a visit.
Two traps to avoid
First, don't try to do everything at once. Set up Google and your page, then add reviews and channels over the following weeks. Trying to launch ten things together is the surest way to finish none. Second, avoid tool sprawl — five disconnected apps you'll never maintain. One page that holds your info, your QR and your buttons beats a scattered stack.
Where to start, concretely
Do the two foundations the same day: your Google listing (Step 1) and your dedicated page (Step 2), then link the page in your Google listing. Print your QR (Step 3) this week. Make review-asking a daily reflex (Step 4). And switch on the buttons (Step 5) as you go.
Put your shop online — free
Create your page, get your QR code, and tick off most of the checklist in a few minutes.
Create my page for freeFrequently asked questions
Does putting your shop online mean selling online?
No. For a local shop, 'being online' mostly means being findable, reachable and reassuring — not necessarily selling on the internet. You can be perfectly visible and pull people into the shop without ever opening an e-commerce site.
Do I need a budget to put my shop online?
The 5 steps in this checklist are free: a Google listing, a dedicated page, a QR code, reviews and contact buttons cost nothing. You can set it all up yourself, no agency needed.
How long does it take?
Budget half a day for the bulk: create and complete your Google listing, create your page (a few minutes), print your QR code. Reviews and content build up over time after that.
Where do I start if I have nothing?
With the two foundations on the same day: your Google Business Profile (to be discovered) and your dedicated page (to have an up-to-date destination). Everything else plugs into those.